
I am in charge of our teacher/staff appreciation Potato Bar Lunch at my kiddos' elementary school this week. I thought I'd decorate the teacher's lounge with a cute banner of some sort. Looking for inspiration, I stumbled upon this adorable website
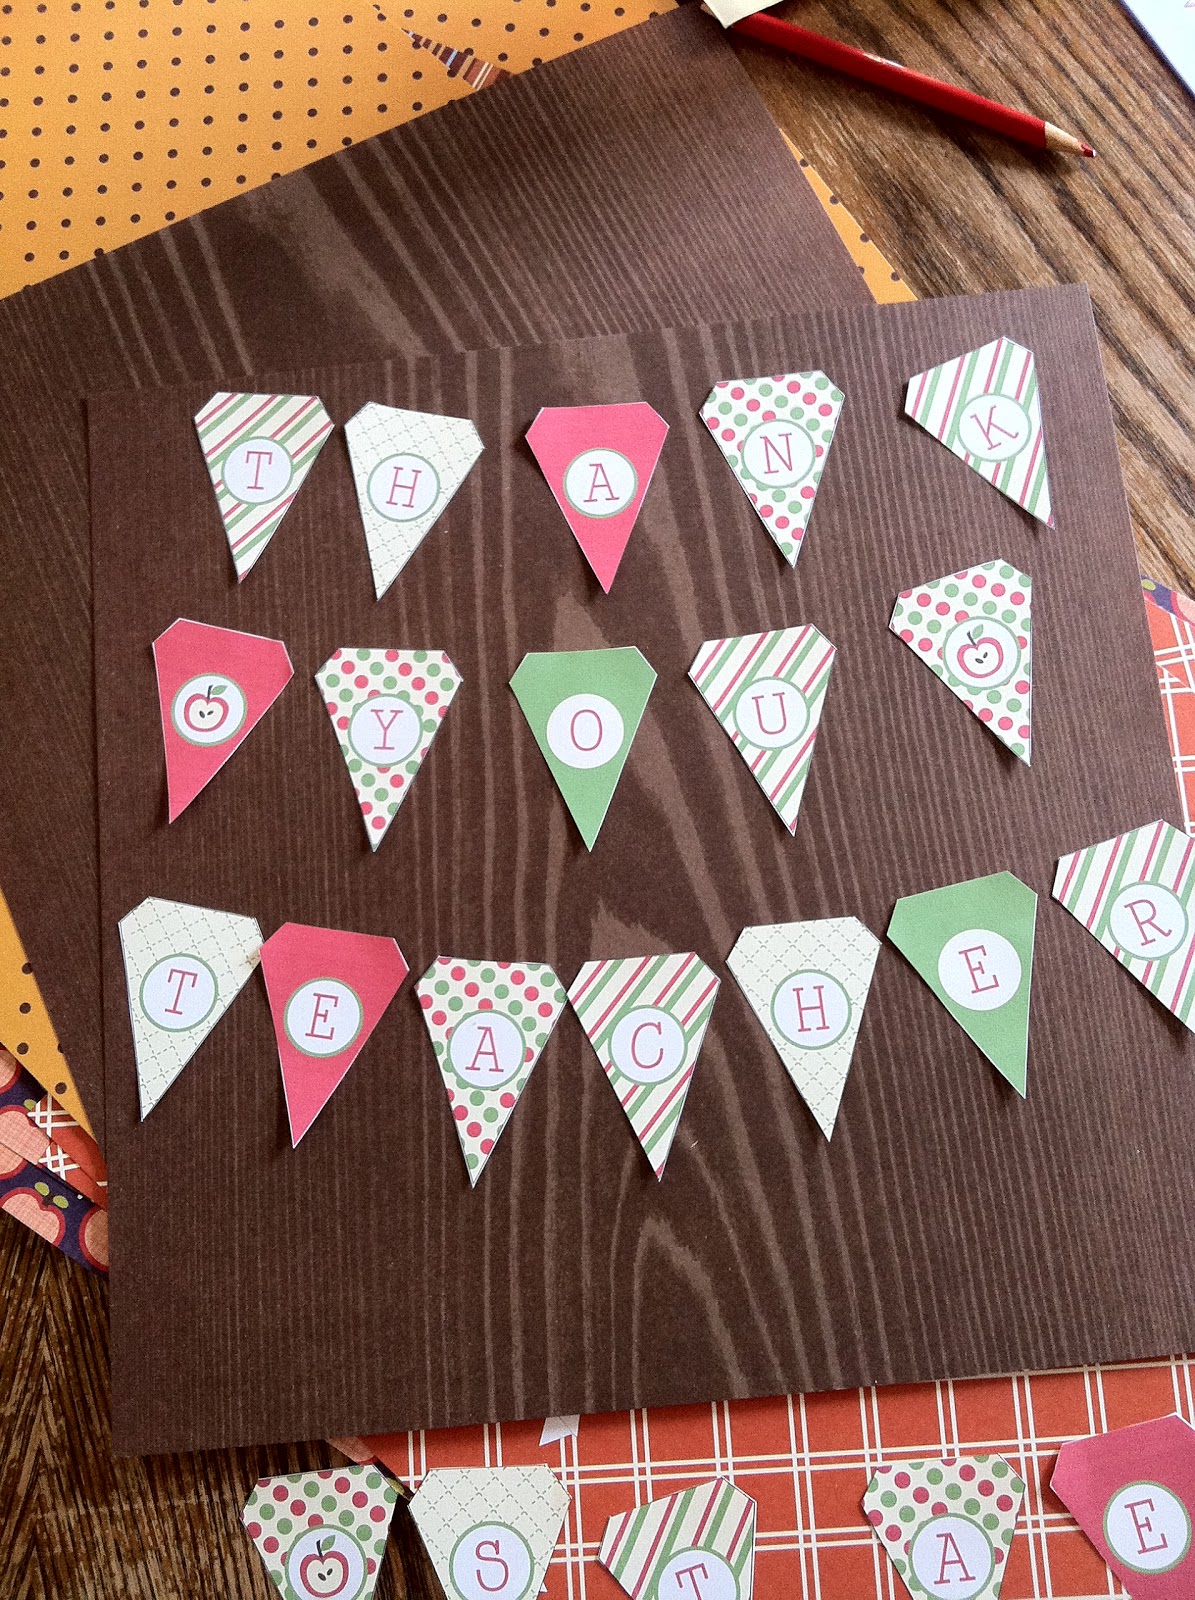
How Does She? with free printables for special occasions such as....teacher appreciation! I printed and trimmed up the banner letters and lay them out...
After a few moments of staring at the mini banner (they are sitting on a 12x12 piece of paper for size comparison) inspiration did, in fact, hit: I needed to string them together with yarn and punctuate it with crocheted apple slices!
So after a bit more searching I found a pattern for the type of apple slices I wanted and adapted it to fit my mini banner. You can locate the original pattern from lion brand yarn
here. Below are my modifications:
G hook

White, Red, Black & Green WW yarns
Worked in the round
Apple Slices (using White)
Magic Circle (6)
Rnd 1: 2 sc around (12)
Rnd 2: *sc, 2 sc in next st* around (18)
Rnd 3: *sc 2, 2 sc in next st* around (24)
Rnd 4: *sc 3, 2 sc in next st* around (30)

Rnd 5: *sc 4, 2 sc in next st* around (36)
Change to Red
Rnd 6: *sc 5, 2 sc in next st* around (42)
F.O. and weave in ends
Embroider black seeds and fold in half and whip stitch together with red yarn.
The rest of the pattern is according to the lion brand website.
I really wanted to crochet into the paper banner and after a trial run I used this method:
Using a small hole punch, punch 2 holes in each banner letter (or banner apple).
Using an E sized hook, I
inserted the hook into the left hole front to back and
gently pulled through a loop.
yo and sl st
Ch 4
With yarn on hook, insert hook into right hole front to back.
yo and sl st
Ch 5
Take next banner letter and repeat this process,
gently using the sl st to pull the yarn through each hole, chain 4 while on the banner and chain 5 when connecting banner letters.

I chained an equal amount on either side of the banner and attached the apples. The end result made me smile! I can't wait to see it all hung up in the teacher's lounge, adorably proclaiming our appreciation of Walnut Grove Elementary's awesome staff!


